Cake Photo Editor
1. Choose a Cake
— OR —

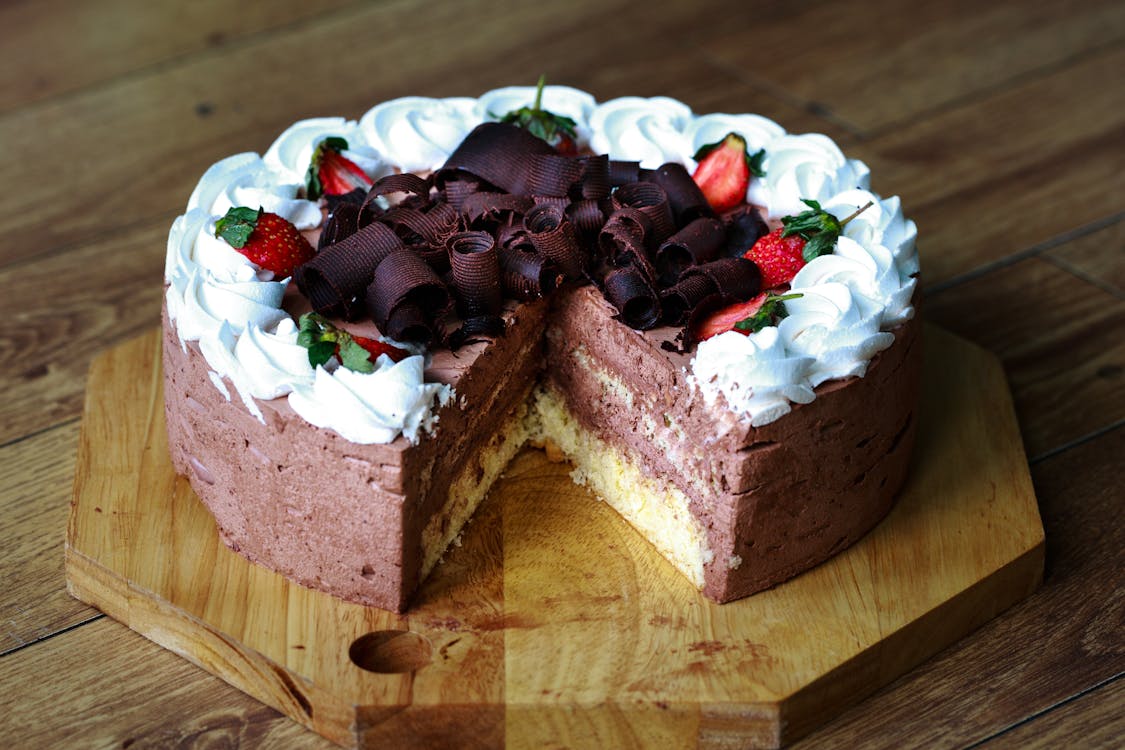

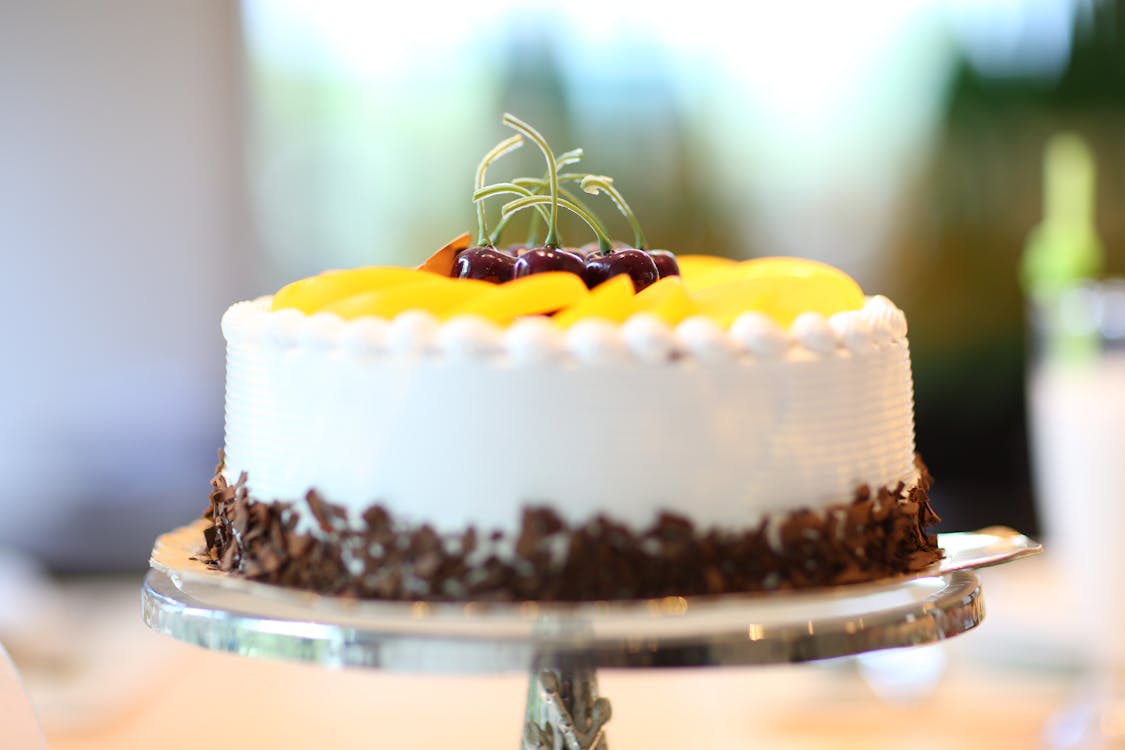
2. Add Your Message
3. Add Stickers
4. Add Photo to Cake
5. Finalize & Download
Click an item on the cake to move, resize, or rotate it. Then use the buttons below.
Cakes are more than just desserts—they’re expressions of joy, celebration, and love. Whether you’re customizing a cake for a birthday, wedding, or festive occasion, having the right visuals makes a difference. A Cake Photo Editor allows you to personalize cake images, add names, insert wishes, and create beautiful designs that are perfect for sharing on social media, invitations, or digital greetings.
In this guide, you’ll learn how to use a Cake Photo Editor to turn plain cake photos into captivating visual masterpieces, even without any design skills.
What is a Cake Photo Editor?
A Cake Photo Editor is an online or mobile-based tool that lets users customize cake images easily. You can add names, write messages, insert clipart, apply filters, and even change cake backgrounds. Most of these tools offer ready-made templates and user-friendly drag-and-drop features, making it simple for anyone to use.
These tools are especially popular during occasions like:
- Birthdays
- Anniversaries
- Valentine’s Day
- Graduation ceremonies
- Baby showers
The Cake Photo Editor empowers users to create images that look professionally made—without needing to hire a graphic designer.
Why Use a Cake Photo Editor?
Here are a few compelling reasons why you should consider using a Cake Photo Editor:
- Personalization: Add names, messages, and stickers to reflect personal style.
- Time-Saving: Get high-quality results within minutes.
- Free and Easy to Use: Many editors are free and require no downloads.
- Perfect for Social Sharing: Create social media-ready posts with just a few clicks.
- Great for Gifting: Print your customized cake photo on cards, mugs, or frames.
Features to Look for in a Cake Photo Editor
When choosing a Cake Photo Editor, make sure it includes the following features:
- Text Editor: Easily add and customize names or greetings.
- Photo Upload: Insert personal photos on cakes.
- Stickers and Emojis: Enhance your cake image with fun graphics.
- Filter Options: Apply color correction and enhancement.
- Template Library: Access to a variety of cake styles (chocolate, vanilla, fruit, cartoon, etc.)
- Download & Share Options: Export images in high resolution for sharing or printing.
How to Use a Cake Photo Editor – Step-by-Step Tutorial
Step 1: Choose Your Cake Photo Template
Start by opening your Cake Photo Editor of choice. Select a cake template that suits the occasion. Many platforms offer templates categorized by event type such as birthdays, weddings, or love themes.
Tip: Choose a high-resolution cake template for the best visual impact.
Step 2: Upload a Photo or Add Name/Text
Click the “Add Photo” or “Add Name” option depending on your desired customization. If you’re uploading a person’s photo to appear on the cake, crop it properly and adjust placement.
To add a name:
- Click the “Add Text” button.
- Type the name or message.
- Adjust font style, color, size, and alignment.
Using the Cake Photo Editor, you can often preview how your name appears on the frosting or cake top in real time.
Step 3: Apply Filters and Effects
Use filters to improve the appearance of the cake or make your added elements blend naturally with the image. You can increase brightness, add blur, or apply themed filters like “Party,” “Romantic,” or “Classic.”
Pro Tip: Subtle filters make the final image look more realistic.
Step 4: Add Decorative Elements
Enhance your cake image with:
- Balloons
- Candles
- Hearts
- Confetti
- Frames
Drag and place these elements wherever you like using the Cake Photo Editor‘s intuitive interface. These decorations can bring life and energy to your final design.
Step 5: Final Adjustments and Preview
Before downloading, take a moment to:
- Align all text and stickers.
- Double-check spelling in your messages.
- Preview your creation on both desktop and mobile screens if possible.
Most Cake Photo Editor tools offer a preview mode, ensuring your final design looks exactly as expected.
Step 6: Download and Share
Click the “Download” button to save your personalized cake image. Choose from image formats like JPEG or PNG depending on your needs.
You can now:
- Share it via WhatsApp, Instagram, or Facebook.
- Print it on greeting cards or posters.
- Send it as an e-card.
- Use it in digital invitations.
The Cake Photo Editor makes sharing thoughtful and personalized images effortless.
Best Practices for Cake Photo Editing
Here are a few expert tips to get the best results:
- Use a clear, high-quality base image.
Blurry or pixelated photos won’t yield a professional result. - Limit the number of added elements.
A clean design is often more impactful. - Stick to 1–2 fonts.
Overusing fonts can make your message hard to read. - Keep text short and sweet.
Names, dates, or a short wish work best. - Choose colors wisely.
Make sure text and elements contrast well with the cake’s base color.
Popular Tools That Offer Cake Photo Editor Features
If you’re ready to get started, here are a few online tools and apps that provide robust Cake Photo Editor features:
- NameOnCake.com – Great for adding names to birthday cakes.
- PhotoCakeEditor.com – Offers photo insertion and framing.
- Canva – A versatile design platform with cake templates.
- PicsArt – A mobile-friendly option with stickers and effects.
- Fotor – Allows easy text and image overlays.
Each of these tools allows users to create personalized cake images without any technical background.
Conclusion
A Cake Photo Editor is your go-to solution for creating customized cake images for any occasion. With user-friendly tools, stunning templates, and creative options, you can design memorable visuals in just minutes. Whether you’re sending a heartfelt wish or crafting an invitation, this tool puts powerful customization at your fingertips.
Now that you know how to use a Cake Photo Editor effectively, why not give it a try and impress your friends and loved ones with your own sweet, digital masterpiece?

